Get started with local‑first Prusa Connect
You will need a machine to run it locally - a PC, laptop, NAS, Raspberry Pi, etc. Simply download a binary, run it, and add a 3D printer using a USB drive. You'll be up an running in minutes.
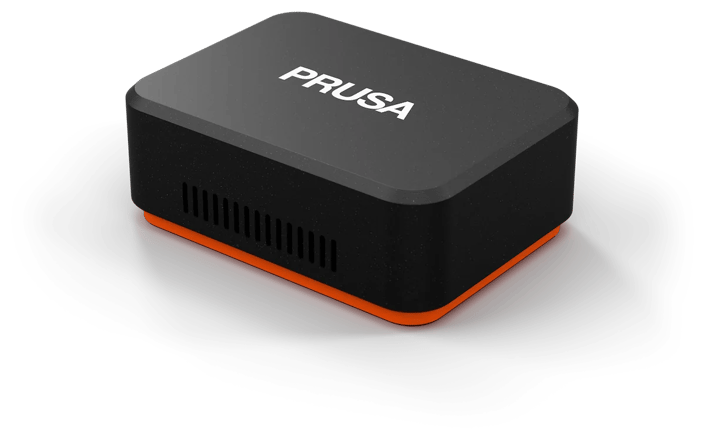
1. Download the file for your computer
Open the latest release on GitHub and download the compiled file. Releases are numbered 0.0.x. The configuration, the API and the extension SDK can still change between releases, so we recommend to back up your data before you update.
Windows
prusa_connect_windows_amd64.exe
Windows on ARM
prusa_connect_windows_arm64.exe
Mac with Apple silicon (M1 and later)
prusa_connect_macos_arm64
Mac with Intel
prusa_connect_macos_amd64
Linux PC or NAS
prusa_connect_amd64
Raspberry Pi 3, 4, 5 or Zero 2 W, 64-bit system
prusa_connect_aarch64
Raspberry Pi 2, 3, 4, 5 or Zero 2 W, 32-bit system
prusa_connect_armv7
Raspberry Pi Zero, Zero W or 1
prusa_connect_armhf
Not sure which Raspberry Pi file you need?
Run uname -m in the terminal on your Pi and download the file based on the result:
- aarch64 → prusa_connect_aarch64
- armv7l → prusa_connect_armv7
- armv6l → prusa_connect_armhf
2. Start it
Do not keep the downloaded file in the Downloads folder. Instead, Create a new folder (with write permissions) and place the downloaded file in it. The server will store its settings and your print files here.
Run the file.
After a few seconds, the new window will show an IP address to open in your browser and a one-time setup code.
Keep the window open. Closing it stops the server.
Windows
Double-click the file. If Windows says "Windows protected your PC", choose "More info" and "Run anyway". When the firewall asks, allow access on private networks. Otherwise, your printers cannot reach the server.
macOS
In Terminal, run chmod +x on the file, then start it. When macOS asks whether the program may accept incoming connections, allow it.
Linux and Raspberry Pi
Run chmod +x on the file, then start it.
3. Perform the initial setup
Look in the newly opened window and look for the address (it will be something like 192.168.0.300:8080). Open the address in a browser on any device on your network and enter the setup code. A short wizard asks the questions below. When you confirm your answers, the server restarts with your settings.
We recommend that everyone signs in. You create the first administrator account here.
We recommend that you approve each printer.
Choose where to store files and how long to keep printer history.
The wizard can create certificates if you need them.
4. Connect your printer
In the web interface, choose Add a printer and download the settings file containing your server configuration.
Copy the file to the top folder of a USB drive and plug the drive into the printer.
On the printer, go to Settings → Network → Prusa Connect and choose Load Settings.
Choose Add Printer to Connect. The printer shows a code. If not, check the printer's network connection.
Check that the code matches the one on the Add a printer page and choose Approve.
Every printer you add appears in your printer list. You can use the same USB drive with the same config file on all your compatible printers.
What to do next
Invite your team
Create accounts and give each person the printers they need.
Install extensions
Statistics, materials, server slicing and more, from the marketplace in the app.
Read moreConnect Home Assistant or your scripts
Use the REST API, live events or MQTT.
Run it as a service
Start the server automatically with your computer.
Something doesn't work?
Still stuck? Ask in the beta program or open an issue on GitHub (si apre in una nuova finestra).