Gamme améliorée : Prusa XL+CORE One+ (Gen 2)CORE One L+ !

USD ($)
Explorer toutes les offres de la rentrée

Beginner´s Guide to Blender for 3D Printing: Edit and Remix STLs

Loading...

A common problem for every maker: you find a great STL, but it’s not just right for your needs. However, even a tiny change to a 3D object poses a big problem without the right tools. This course teaches you the practical Blender tools you need to edit existing files without having to learn to model from scratch. No previous Blender or 3D modeling experience is required.

We’ll show you how to resize holes, change proportions, add or remove details, fix problematic meshes, and create fun remixes, like adding battle damage to a cosplay prop. We'll use sculpting, direct mesh editing, and modifiers. Everything is taught step by step through practical projects, with quizzes along the way.

Après votre achat, vous recevrez un email de confirmation avec un lien. Aucune inscription supplémentaire n'est nécessaire - vous êtes déjà connecté avec les informations d'identification de votre Prusa Account. L'intégralité du contenu de chaque cours est débloquée dès le début.

En stock

Délai de préparation : 1 à 3 jours ouvrés.

En stock
$25.91
Loading...
$25.91Loading...

IDF: 28434|IDS: 4374

Learn to edit your models, fast

Please note that the course is currently available only in English.

You don’t need to master Blender. We focus only on the tools and workflows that are genuinely useful for 3D printing, so you can start making practical changes to downloaded STLs as quickly as possible.

Once you get the know-how, even significant remixes can be made in just minutes.

Resize elements
Inflate objects
Stretch proportions
Change expressions
Pose limbs

A tool for every use case

The course is inspired by how we actually use Blender at Prusa Research to adjust STLs from Printables for 3D printing. The techniques are practical and applicable to various projects.

  • Make parts fit

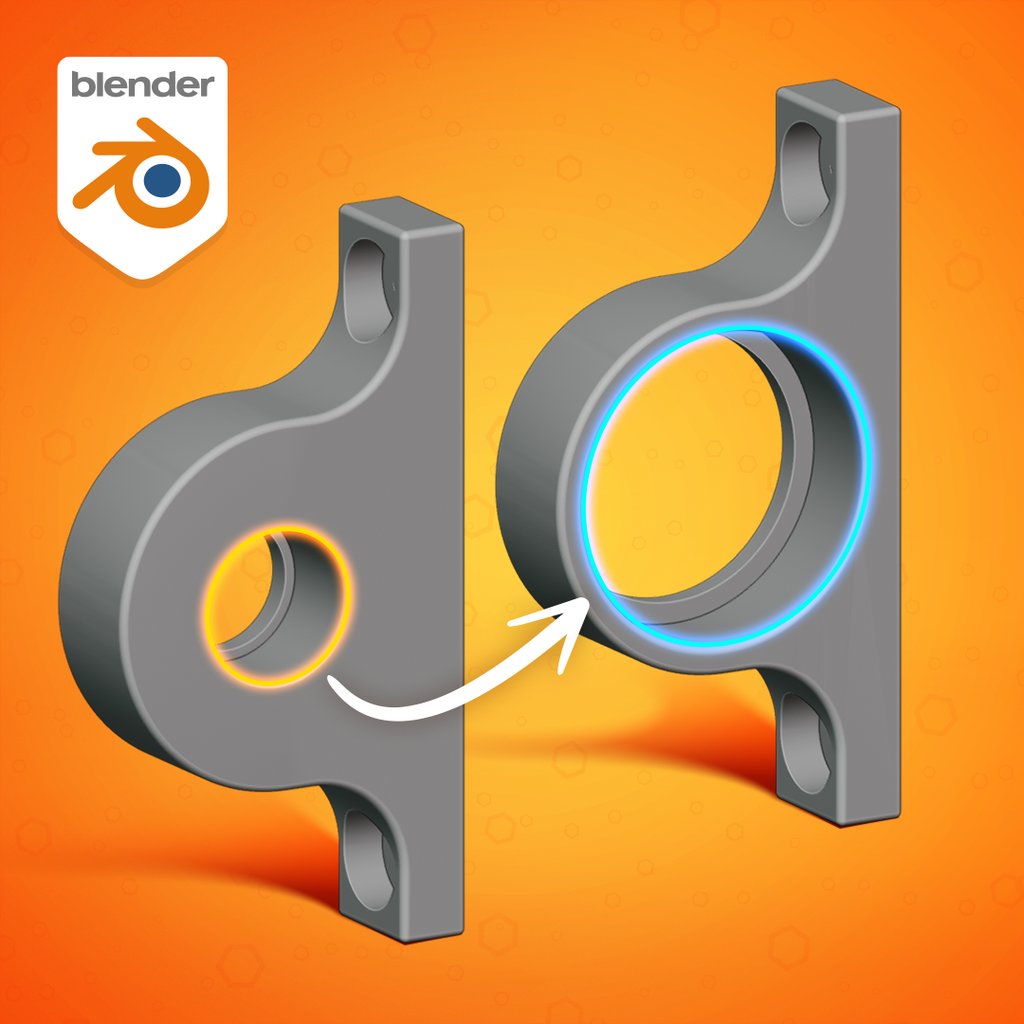
    Use mesh editing to precisely adjust holes for embedded hardware, printing tolerances, and other dimensions.

  • Repair broken models

    Learn several ways to fix broken meshes for slicing, from automated solutions to precise manual adjustments.

  • Sculpt details

    Add details or change character poses and expressions with a virtual sculpting brush.

  • Make quick stylizations

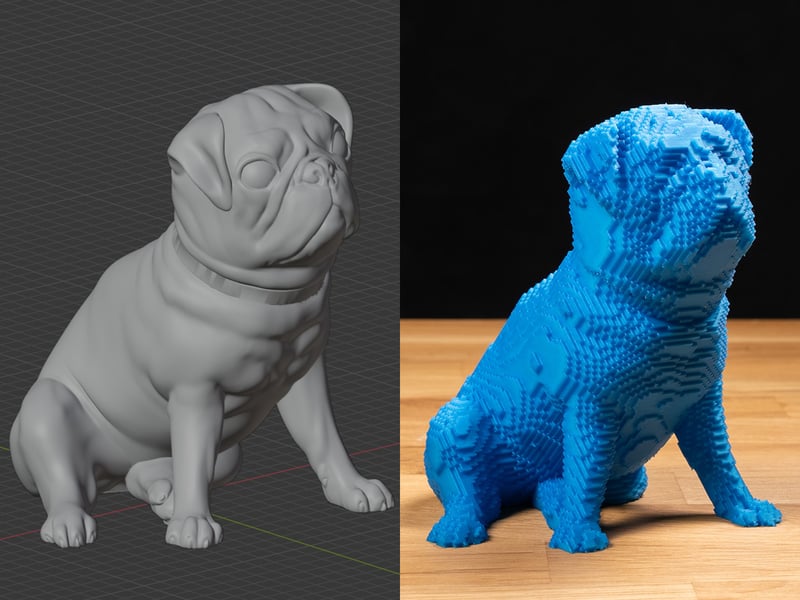
    Use editable modifiers to quickly turn your prints into blocky sculptures or low-poly objects.

Learn by doing

Most chapters that introduce a specific tool or technique in Blender show its use on a sample STL model from Printables. You can immediately print the result yourself or apply the skill to any model you'd like.

Image of a dog model before and after editing

Remix with a few clicks

Use modifiers to instantly turn a model into a blocky or low-poly version.

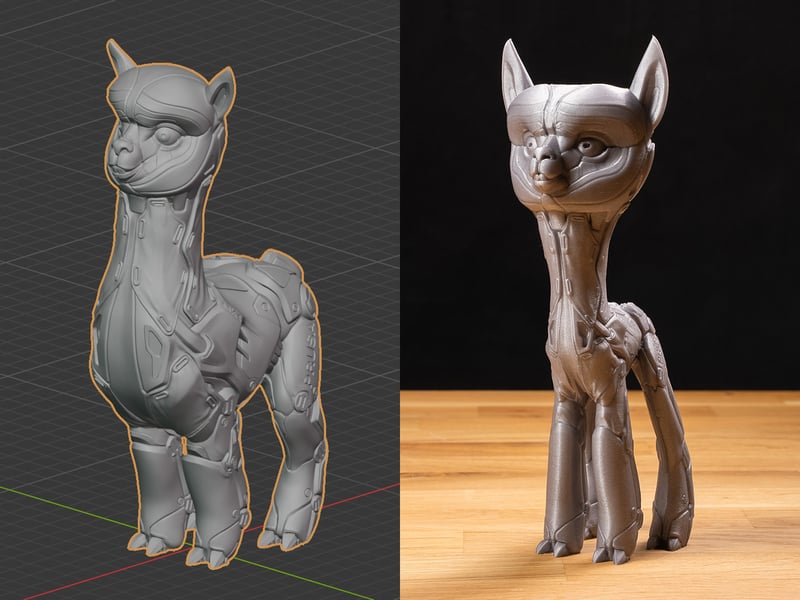
Image of an alpaca model before and after editing

Change proportions

Stretch models to create fun new shapes and remixes.

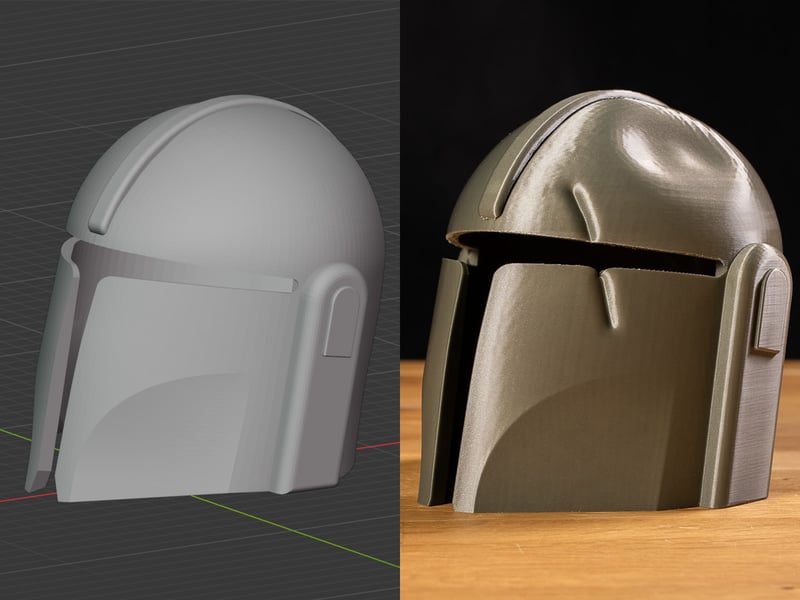
Image of a helmet model before and after editing

Sculpt details

Use sculpting tools to add small details or battle damage to cosplay props.

Blender specifically for 3D Printing

Blender can do almost anything (from 3D rendering and VFX to 2D animations), which is why it can be very overwhelming. This course focuses purely on the parts that are useful for 3D printing.

What we included...

  • Basic introduction to Blender's UI and navigation
  • Object mode, Edit mode, Modifiers, basic sculpting
  • Free add-ons for 3D printing
  • Exporting at correct scale for 3D printing

...and what we skipped

  • A tour of every Blender panel and tool
  • Mesh Modeling from scratch
  • Animation, rendering, or Geometry Nodes
  • Texturing and materials
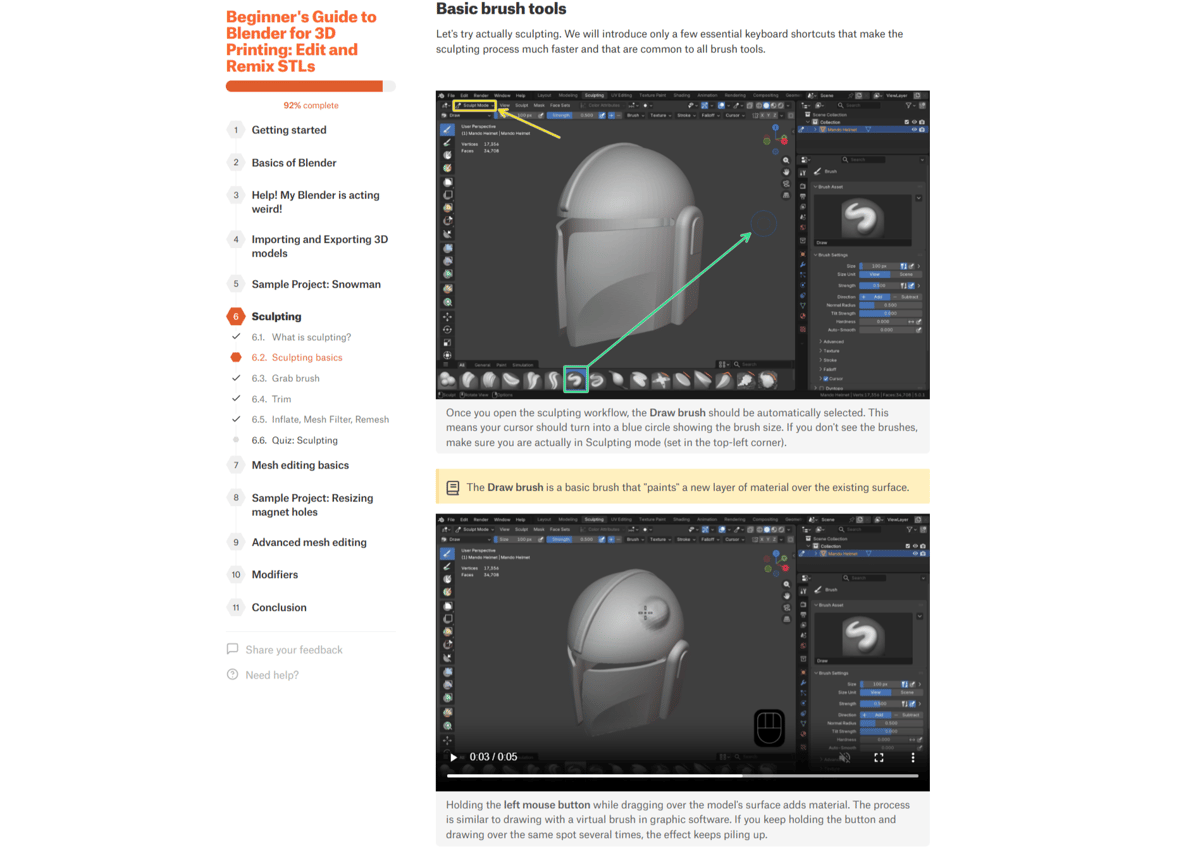
Screenshot of Prusa Academy course

Learn with text, videos, and images

Tired of sitting through endless YouTube tutorials and skipping back and forth looking for what you need? Prusa Academy courses combine text with images and short 5-20 second videos. This makes it easy to skim through things you already know and refer back to content you need to review.

Course contents

The course follows a linear structure, guiding you from the basics of Blender through various editing techniques. We begin with Sculpting, since it is the most intuitive tool, and then move on to Direct Mesh Editing and Modifiers. All content is unlocked from the start, so if you prefer, you can jump to the topics that interest you most.

Syllabus

  • Getting started: Set up Blender and try your first mesh editing.
  • Basics of Blender: Learn to navigate the 3D space and work in Object mode.
  • Help! My Blender is acting weird! Quick troubleshooting for common visual and UI issues.
  • Importing and exporting: Learn how to correctly import STL, OBJ, and 3MF files, and export them back at the correct scale.
  • Sample project: Snowman: Build a simple character from basic shapes to reinforce working in Object mode and navigating the 3D space.
  • Sculpting: Learn the sculpting workflow for quick and powerful adjustments.
  • Mesh editing basics: Learn how to work with vertices, edges, and faces to make precise adjustments to the mesh geometry.
  • Sample project: Resizing magnet holes: Resize and reshape magnet holes on a functional part to learn all about precise scaling for 3D printing.
  • Advanced mesh editing: Fixing non-manifold problems and manually removing details from a mesh.
  • Modifiers: Apply powerful non-destructive editing tools suited for 3D printing.
  • Conclusion - Get some extra tips and learn where to go next.
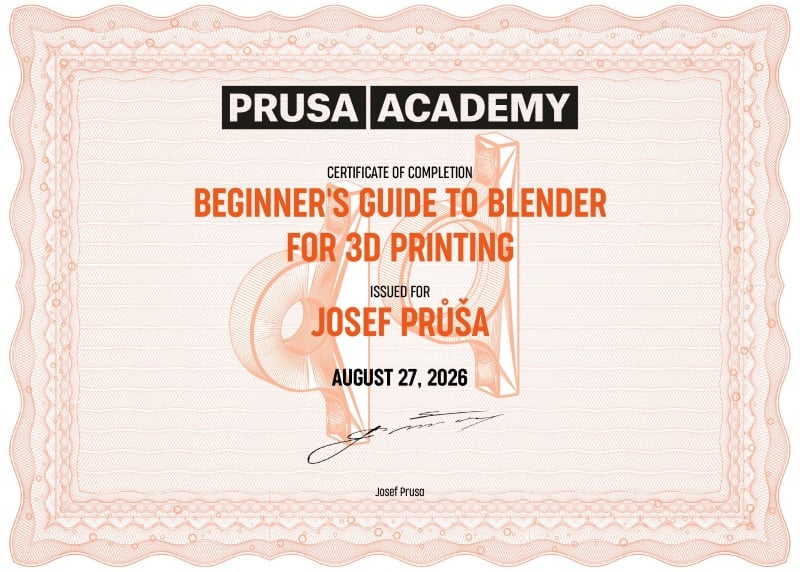
Blender course certificate example
Prove your knowledge

Get a Certificate of Completion

Each Prusa Academy course contains quizzes to help you check and reinforce your newly gained knowledge along the way. If you pass them all successfully, you will earn a certificate with your name as proof of your progress and commitment. Enjoy the prestige, bragging rights, and new job opportunities that come with it! 🙂


FAQ

Some things to check before you buy the course.

Avis